Not sure how Herreshoff MGF co. made the bend in this sheer clamp.

To make it easier, I used the bend as my scarph joint for the new clamp.

One dutchment on the STBD side.
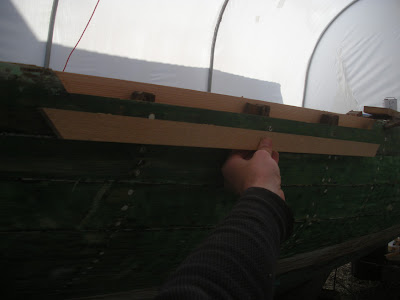
Another good fit.
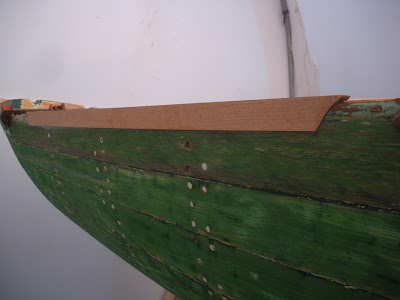
Here is the clamp with all the rivets in. Peening these over didnt affect the fasteners as badly as it did on the Port side.

Shaping the carlin to match the clamp on the Port side.

Cutting the curve of the coaming band on the band saw.

The coaming band installed with fasteners and GFlex epoxy on Port.

STBD side was also installed. As well as the three coaming beams you can see before the deck starts. Notice here that I am using a batten to mark out where the coaming will go forward.

Here it is laid out on the old deck.
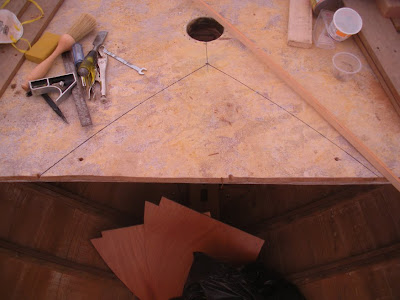
The last pieces of Pompano's former house burn to provide warmth on a snowy day at the end of March.

Two vertical supports of white oak are installed and glued in on either side for the inner bulkheads.
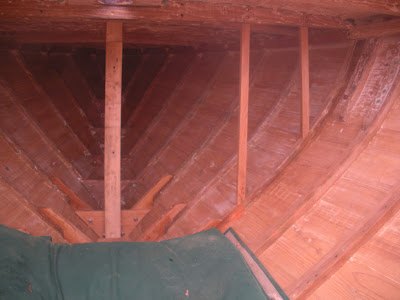
A frame pops off on Port side from peening the rivets. More loose frames were noticed after this, but action is taken...
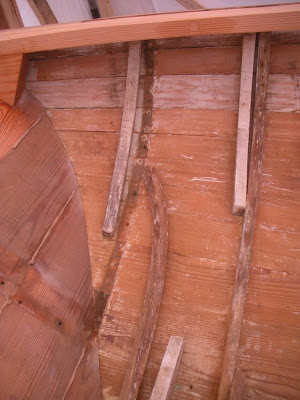
First, the cotton in the seams of the problem area is removed.

An old repair, the plank you see missing, is removed and a new one will be made.

The space seen from the inside.

The new plank taking shape from Atlantic White Cedar.

All the planks are wedged together to take their original "shape" and to allow new steam bent frames to be pushed against the planking.

From the inside. Notice that the aftermost two frames are gone, as well as the sisters for the next two frames moving forward. Thats four new frames total.

The new frames take shape from some air dried white oak at the boatyard.

The steam box is set up and the fire lit.
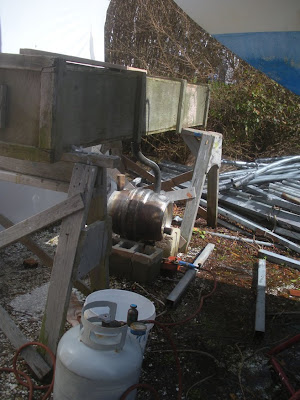
Drew Dunne comes to help on a saturday, fastening the new frames as I bend them in.

Contemplating the job. Some frames took a couple tries.

Eventually, after a lot of sweat, we got them all in and 80 new silicone bronze fasteners in place.


