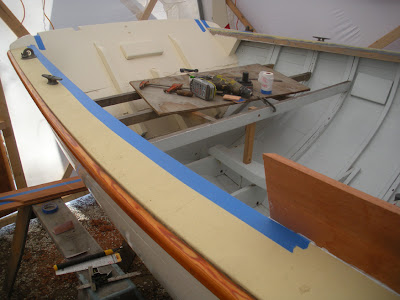
Taping off that aft sections of coaming for gluing

Here are the pieces ready for 5200.

Here is the nose piece at the FWD end cut and the cleats for the deck beams getting fit.

The coamings are glued and screwed under the tarp to conserve heat and the deck beam cleats are glued and clamped.

Here are the coamings the next day.

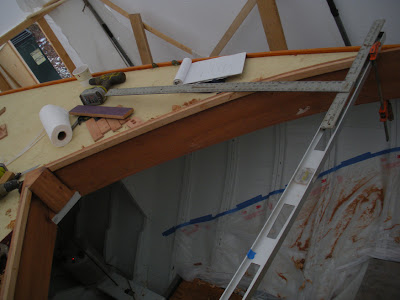
Here I am laying out the deck beam locations.

All notches for the beams are cut into the cleat and all beams are rough made. Here, the first one is fit in.

Here, all five are cut and fit.

Finding the centerline.

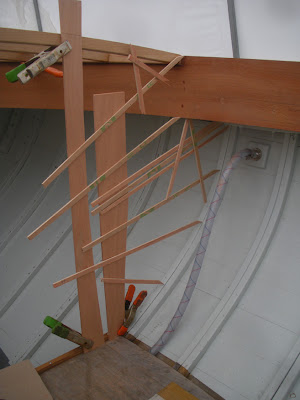
Here is my jig for making a mold of the STBD bulkhead.

The jig goes ontop of the plywood for tracing.

Pretty nice fit!

Cleats are installed along the frame and notice the teak cleat on the cockpit sole.

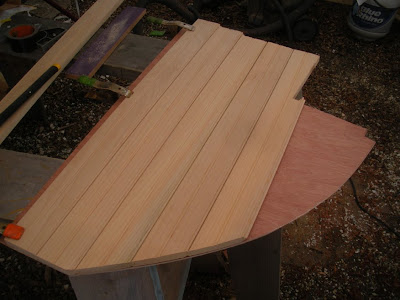
Port Orford Cedar is then laid out on the plywood bulkhead mold.

Beginning to fit the pieces for the bulkhead.

This piece took me about two hours to fit correctly.

The STBD bulkhead is fit and screwed. Tomorrow, I will work on the Port side.


